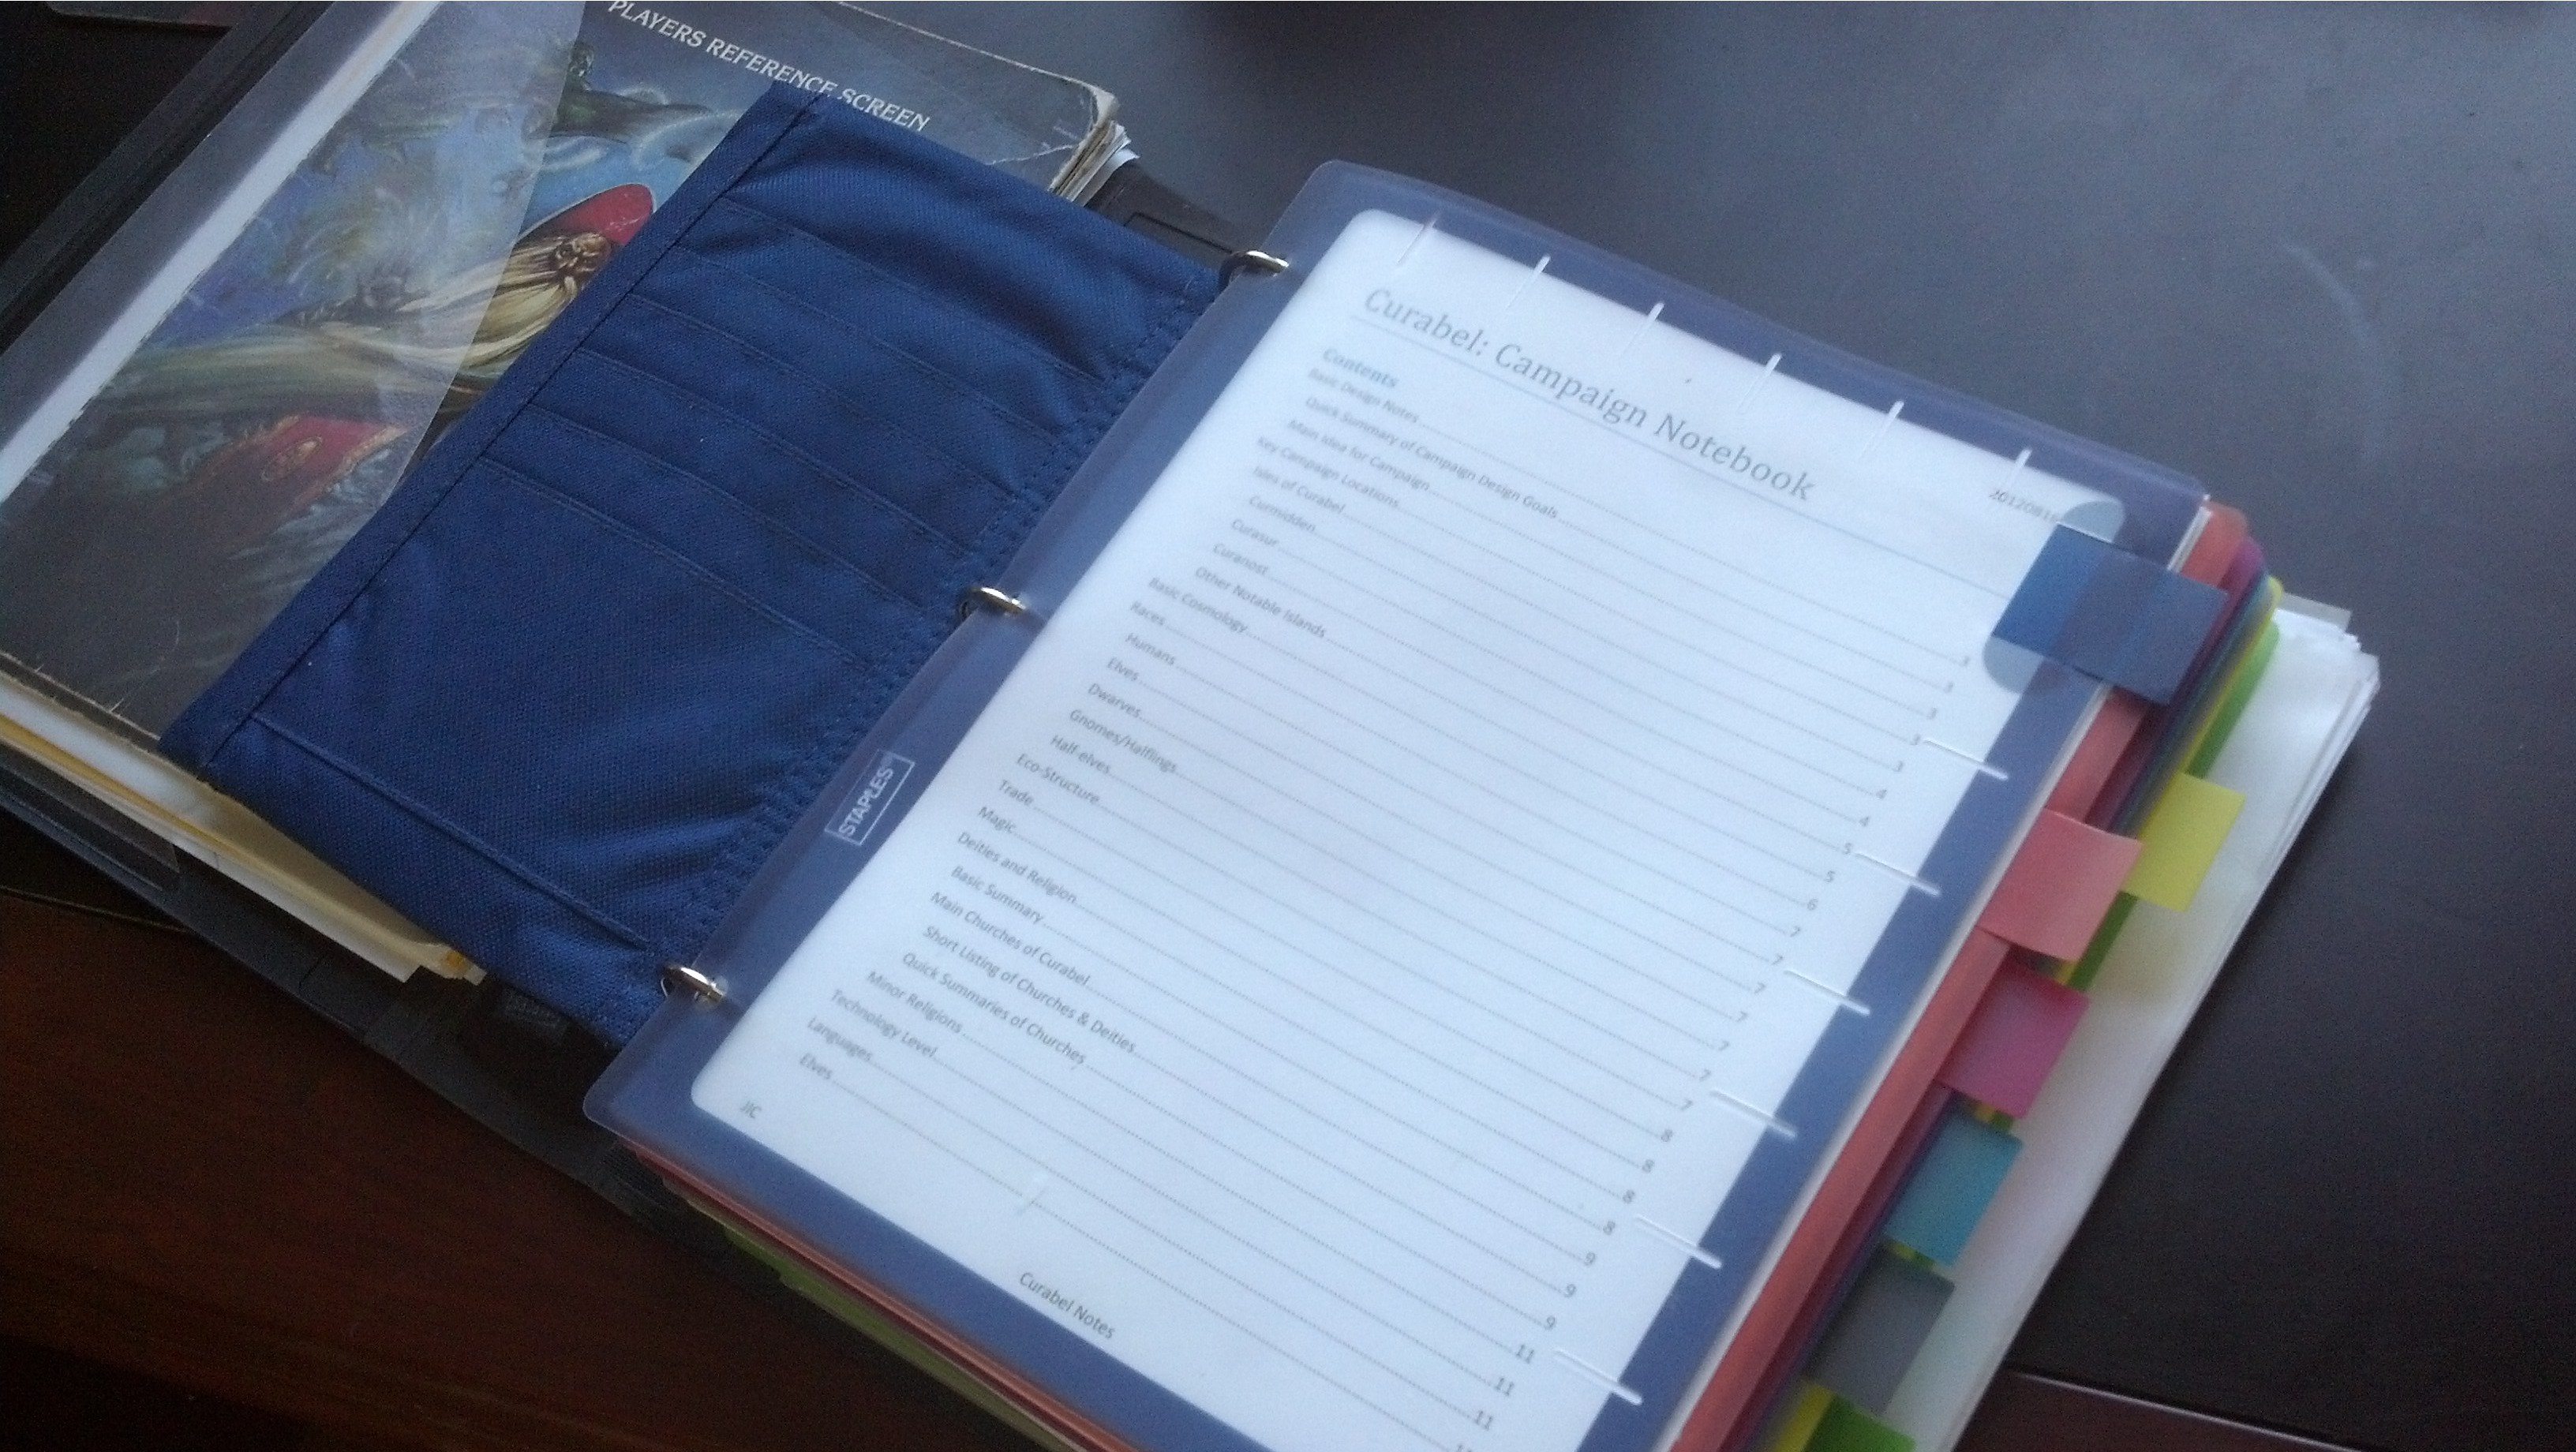
My notebook for the Curabel campaign setting.
My decision to get back into role-playing games was made gradually over the course of two years. This process began with my backing of the Tabletop Forge Kickstarter virtual tabletop (VTT) project in July of 2012, the funding of which was transferred to the Roll20 VTT project shortly thereafter. Around the same time, I discovered the entirety of my first edition AD&D collection while clearing out the attic of my childhood home. The combination of seeing the possibilities inherent in the Roll20 platform and rereading the core 1E rule-books was extremely inspiring and I went to work programming various random generators and drafting a new campaign setting.
Without a gaming group for whom I needed to deliver adventuring content by a set date, though, I worked at a rather leisurely pace on these endeavors. While a couple of months late-night coding led to automated scripts for generating weather, random encounters, and NPCs, the campaign setting that these tools would help bring to life came together much more slowly. In fact, it would be March of 2014 before I felt prepared enough to advertise my new campaign publicly via Roll20 and various G+ RPG/OSR communities.
What I developed over the course of those two years was a sandbox style home-brewed sword-and-sorcery campaign (with a dash of science fantasy) set on a tropical archipelago named Curabel (pronounced Kur’-a-bell). The initial campaign materials included the following:
- A ‘bible’ document detailing the general features of the setting with some more specific information about the starting area (a major city located near the center of the archipelago)
- A world map showing the entirety of the archipelago, first drawn by hand on graph paper and then transferred to a hex map using Inkwell Ideas’ Hexographer program.
- A detailed hex map of the central island of the archipelago where the campaign would begin
- A key to the detailed hex map with high-level details and adventure hooks for all 80 12-mile hexes
- A rumor document for use in the starting city referencing adventures both in that location and elsewhere on the archipelago’s central island
- A general map of the beginning city (Midmark) along with detailed maps of a couple of key neighborhoods
- Lists of NPCs for the key neighborhoods and the city generally
- Maps of key locations in the city, including two possible adventure sites (a wizard’s tower and bathhouse/tomb complex hidden beneath the sewers)
- Randomly generated weather information for the first three months (in-game time) of the campaign
- A house-rule document based on my reading of various OSR blogs and previous experiences as a DM
- A document to advertise the campaign and recruit players
My intention is to post these materials here under a Creative Commons license for others to use, providing commentary on each that will clarify my creative process, inspirations, and intentions. My next post will begin this exegetical process with the campaign ‘bible’ document.
Pingback: Curabel Setting, Part 2: Design Goals | Dwarven Automata
Pingback: Creating Curabel, Part 4: Key Locations | Dwarven Automata
Pingback: Creating Curabel, Part 4: In Media Insulae | Dwarven Automata